So let's start:
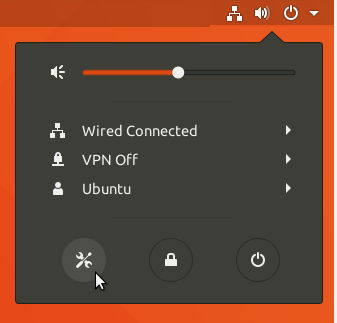
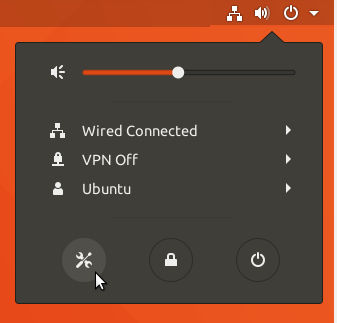
- Open up the system settings by clicking on the icon with the screwdriver and wrench crossing each other in the menu that comes up when clicking on the icons at the right top of the screen. Then select "Region & Language" on the left side of the opened window and click on "Manage Installed Languages".

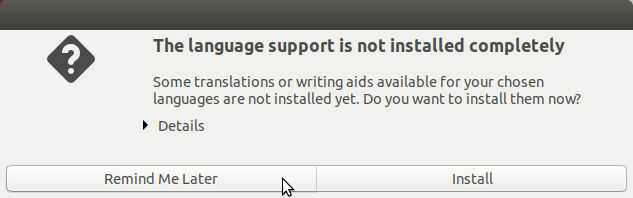
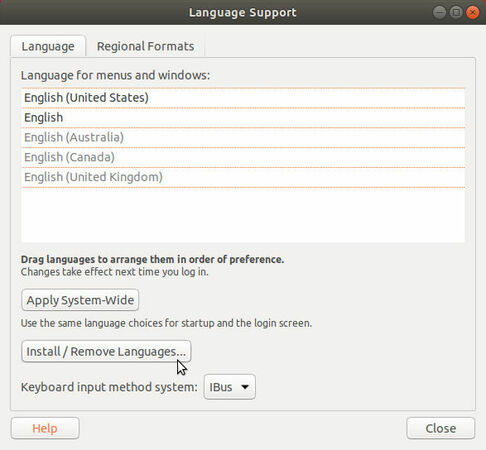
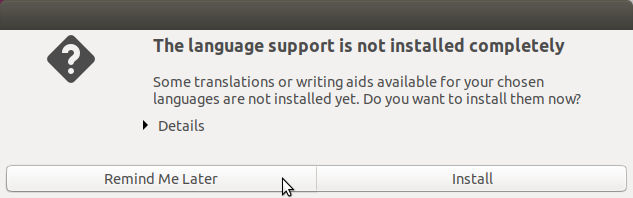
- Eventually a dialog with the words "The language support is not installed completely" might come up. You can ignore it by clicking on "Remind Me Later". Now you should see a window called "Language Support". In this window, click on "Install / Remove Languages...".
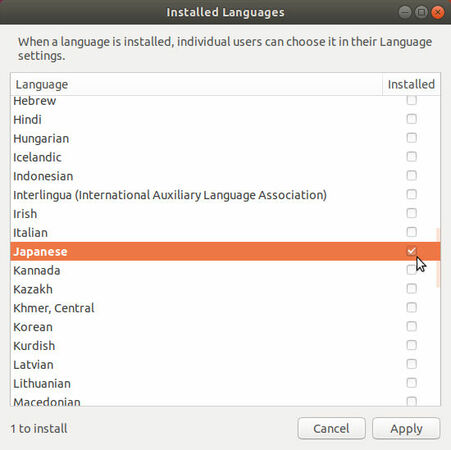
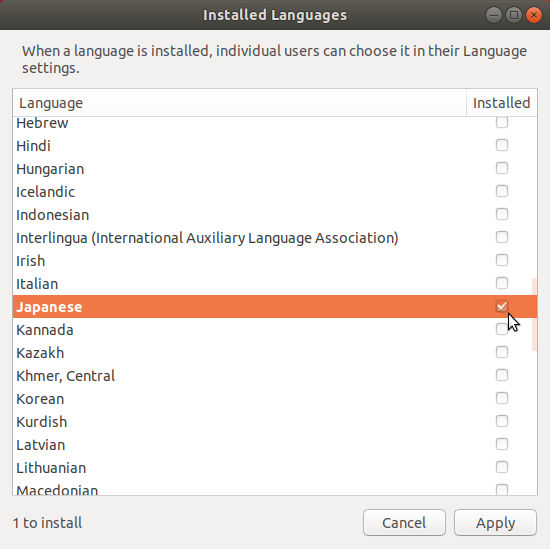
- In the opened "Installed Languages"-window, find the Japanese entry inside the list and click on the checkbox next to it so it's checked. Then, click on "Apply".
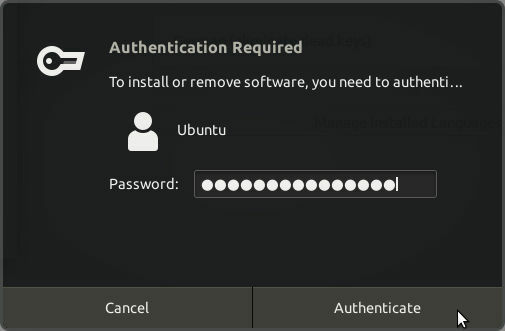
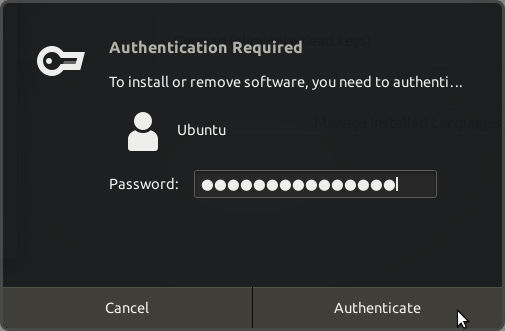
- Next, enter your password in the appearing authentication dialog and click on "Authenticate.
- The necessary packages will now be downloaded and installed. Nothing to do for you in this step, but you can already start to save open documents and close unused windows in preparation for the next one. :-)

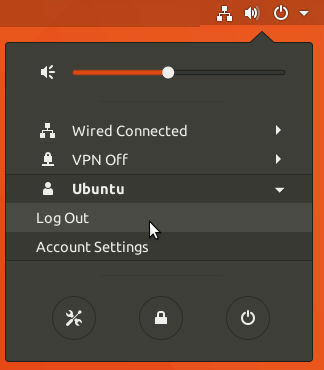
- After the Japanese language support is installed, you have to log out. This is the small stumbling stone I mentioned before. For the installed input method to show up, the session needs to be restarted. This is really kind of annoying but there's nothing you can do about that at this point. :-(
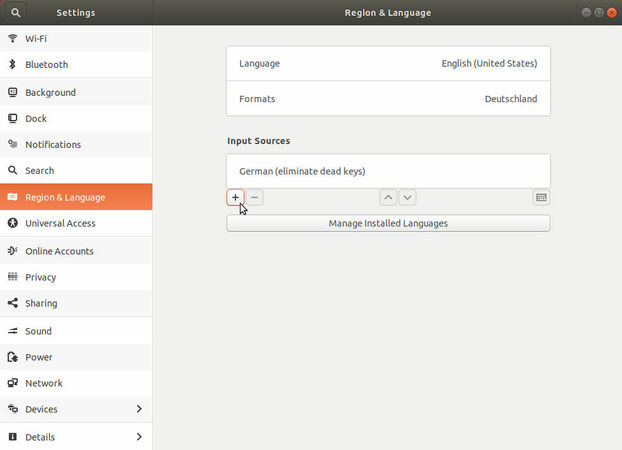
- Now reopen the "Region & Language" settings but this time click on the small button with the Plus-Sign below the Input Sources.
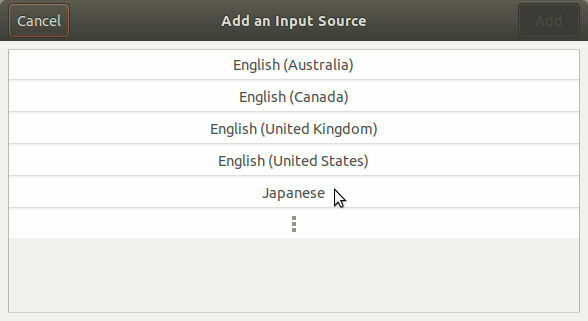
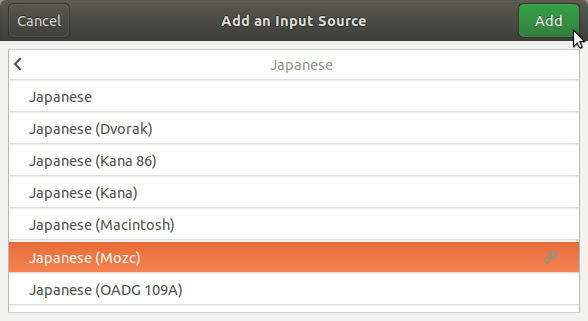
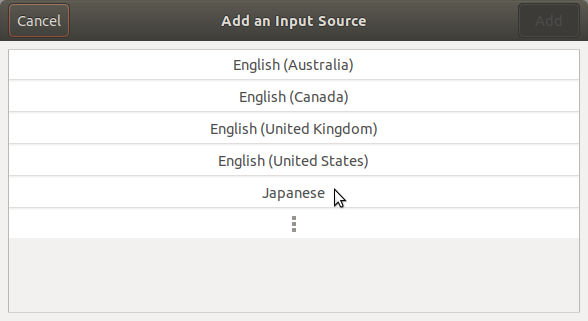
- In the "Add an Input Source"-dialog, first click on "Japanese" and then select "Japanese (Mozc)". Now click "Add".
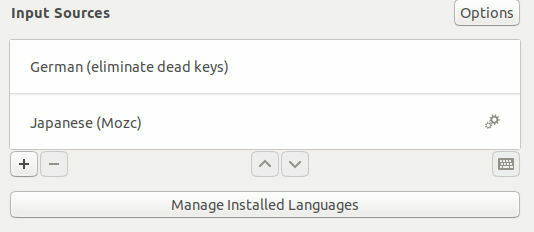
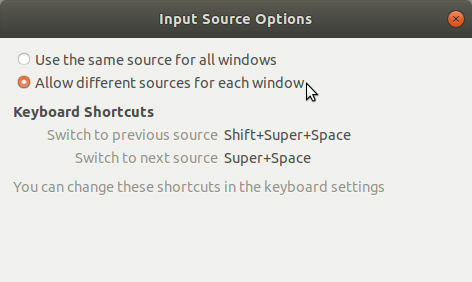
- The entry "Japanese (Mozc)" should now appear in the list of Input Sources along with the system icon. Also notice the "Options"-button, that now appeared at the right side of the "Input Sources"-label. When you click it, the opened dialog allows you to specify whether input sources are global or window-specific. I recommend to set it to "Allow different sources for each window".
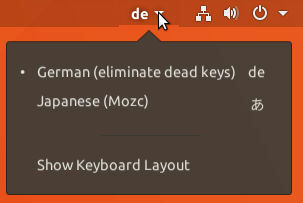
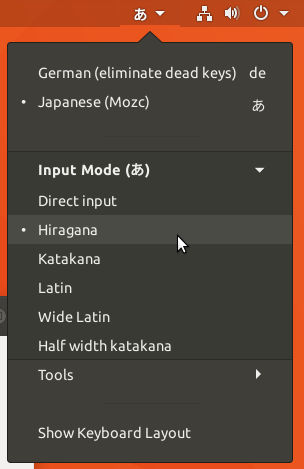
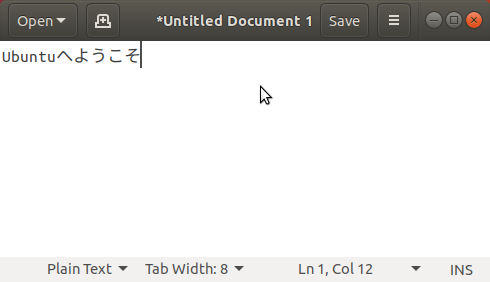
- You should be ready to go now. Open the text editor, click on the system icon to switch between the input sources, select "Japanese (Mozc)" and then "Hiragana" as the "Input Mode". You should now be able to type Japanese. Switching between candidates is done by pressing the spacebar and katakana-conversion is done by pressing F7.


I hope, this article answered your first questions regarding Japanese input in Ubuntu.
If this article was useful to you, you might also be interested in my (short) list of Japanese learning materials and software for Linux and how to type specific symbols and radicals in Mozc / Google’s Japanese IME.